
















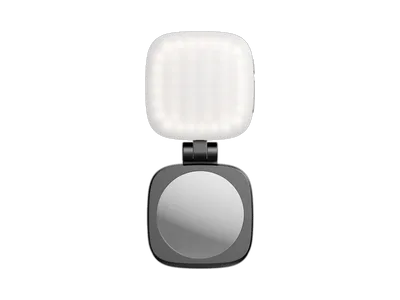
To develop film at home you need a changing bag or a dark room to load the film into the developing tank, and then chemicals. To print pictures on paper you need a safelight and contrast filters. A starter kit gathers the basic equipment if you are starting from scratch.
Read more about darkroom equipment
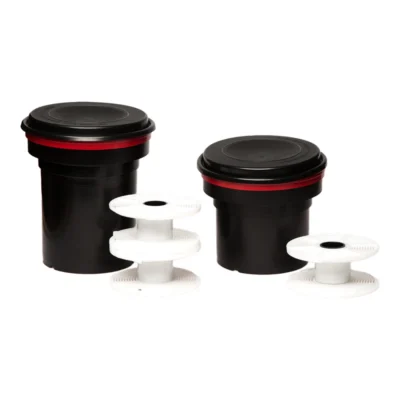

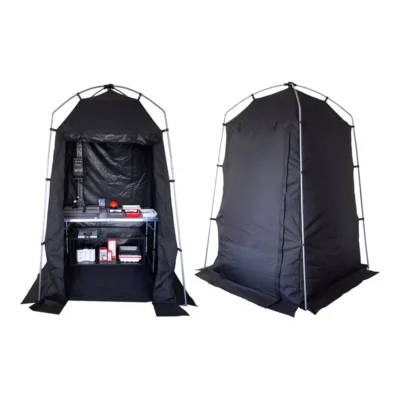
A darkroom can be a bathroom with a towel under the door, a wardrobe or a tent in an ordinary room. Most of the equipment is simple and lasts for years. Below we go through what you need to develop film, what you add to make prints on paper, and how to store film before and after.
Developing film at home: the basics
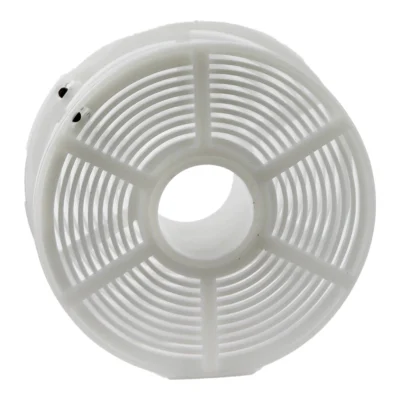
The heart of it is the developing tank. The film is wound onto a reel in the dark, the reel goes into the tank and the lid goes on. Everything after that happens in normal light. A two-reel tank holds two 35 mm rolls or one 120 roll. Larger tanks take more.
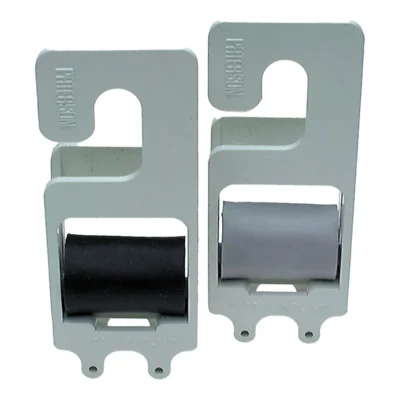
Besides the tank you need a thermometer, a couple of measuring graduates, a timer and bottles for the chemistry. Clips to hang the film while it dries belong on the list too. A weighted clip at the bottom stops the film from curling up.
The reel is what takes practice. Sacrifice an old or cheap roll and practise in daylight, then with your eyes closed. Learning there is far calmer than with a real film inside a changing bag.
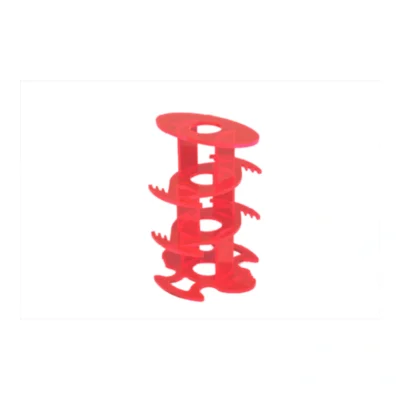
For sheet film there is an adapter that holds six 4x5 inch sheets and fits a larger tank, so sheet film can be developed the same way as roll film.
Changing bag, dark room or tent
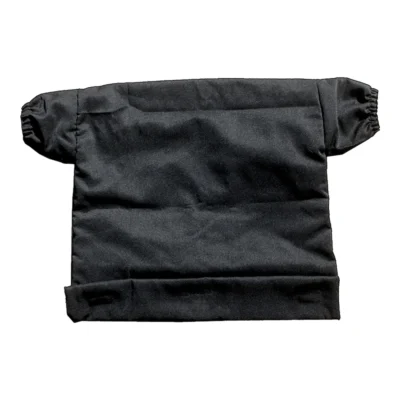
The film has to go into the tank in total darkness. A changing bag is a light-tight bag with a zip and two sleeves. You put in the tank, reel, film and scissors, close it and work with your hands inside. A large bag gives room to move, which matters when the film jams.
Keep your hands dry, and preferably a little cool. Damp hands make the film stick on the reel. Check new bags and dark rooms by sitting in the dark for a few minutes and looking for light leaks around doors and seams.
If you have no room that can be blacked out, Ilford makes a darkroom tent. It stands on the floor, is a little over two metres tall with a 1.3 x 1.3 metre working area, and has ventilation. There is space for both developing and printing.
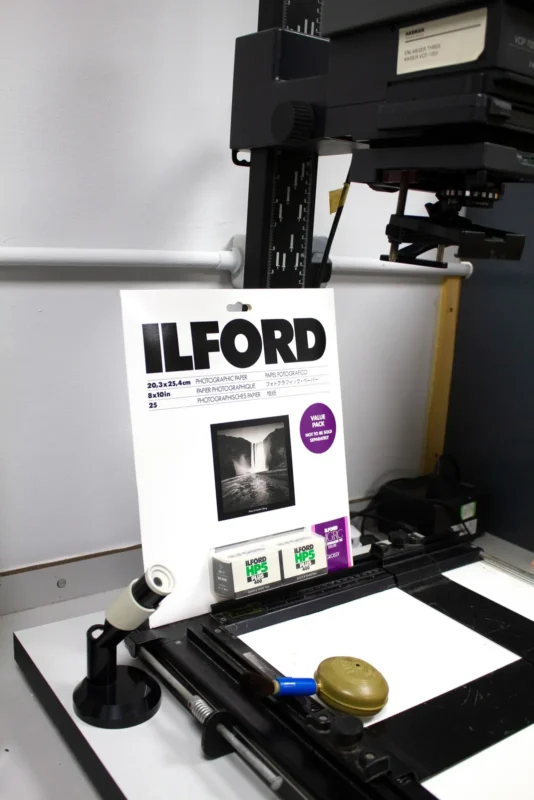
Making prints on paper
To make prints you need an enlarger that projects the negative onto the paper. It is the single biggest piece and is often bought second-hand, since enlargers last a long time and many are still around. Check that the lens is clean and that it takes your negative format.
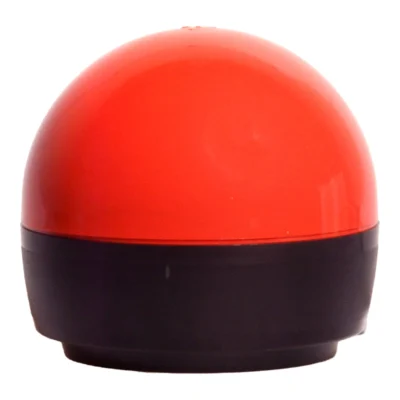
Beyond that you need a safelight, three trays for developer, stop and fixer, tongs for each tray and an easel that holds the paper flat. A red safelight works for black and white paper. Hang it at the distance the maker recommends.
Split the bench into a dry side and a wet side. Enlarger, paper and negatives stay on the dry side, trays on the wet one. A splash of fixer on an unexposed sheet or a negative leaves marks that never come out. Keep a towel between the two and dry your hands every time you cross over.
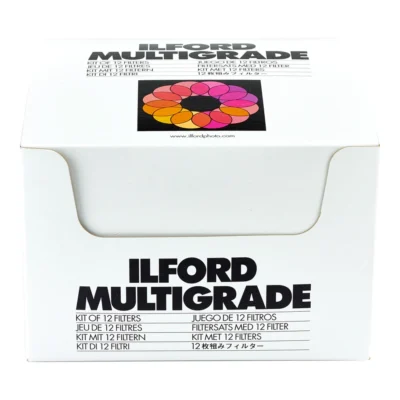
Ilford's Multigrade filters set the contrast on variable-contrast paper. If the enlarger has a filter drawer, use the larger filters there. Otherwise there is a holder that sits below the lens. Filters in the drawer do not affect sharpness, while filters below the lens need to be kept free of dust and scratches.
Starter kit if you begin from scratch
A starter kit gathers what you need to develop black and white film the first time. Ilford's kit includes a tank with two reels, graduates, a thermometer, a cassette opener, film clips and chemistry in single-use sachets. Everything fits together, and you avoid hunting down parts one by one. Read the contents list on the product page, since kits can differ.
What you still need is film, a pair of scissors and somewhere dust-free to hang the film. A bathroom where the shower has run for a while works well, as the steam settles the dust.
Storing film and negatives
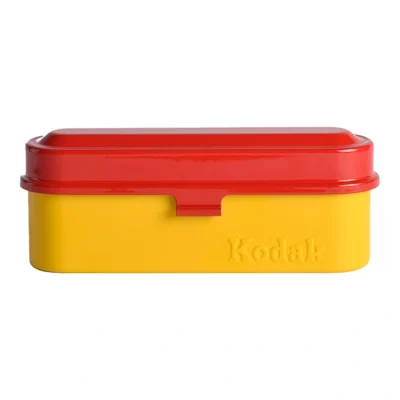
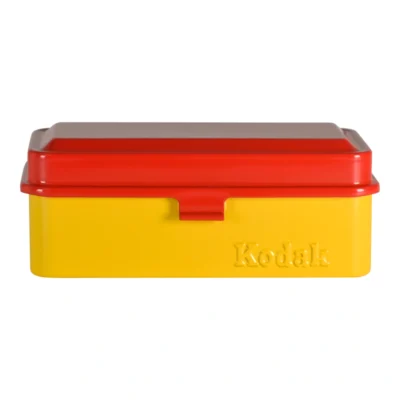
Unexposed film and finished negatives do best cool, dry and dark. Kodak's steel film cases protect rolls from knocks and light in a bag. The small one holds five 35 mm rolls and the large one also takes 120.
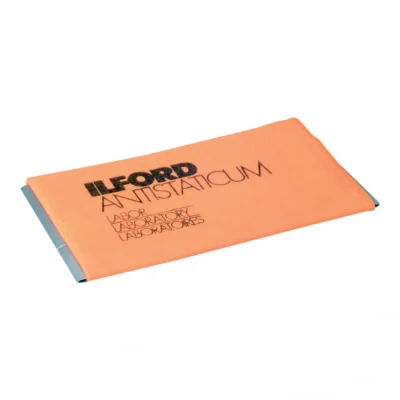
Dry negatives are cut into strips and put into archival sleeves. Never leave them loose, as scratches and fingerprints cannot be removed. An antistatic cloth lifts dust from negatives before they go into the enlarger and saves a lot of retouching afterwards.
Frequently asked questions about darkroom equipment
What darkroom equipment do I need to develop film?
You need a developing tank with a reel, a changing bag or a completely dark room, a thermometer, graduates and chemistry. Clips to hang the film while it dries are needed too. A starter kit covers most of it.
What is a changing bag?
A changing bag is a light-tight bag with sleeves where you load the film onto the reel. With one you do not need a dark room to develop film. The rest happens in normal light.
Do I need a darkroom to develop film?
Not for film. With a changing bag and a tank you can work in an ordinary room. For printing on paper you do need a room that can be blacked out, or a darkroom tent.
Is second-hand darkroom equipment worth buying?
Yes, enlargers in particular are often bought used, since they last a long time. Check the lens and that it fits your negative format. Tanks, reels and chemistry are cheap new and may be worn when used.
Which safelight should I use?
A red safelight works for black and white photo paper. Place it at the distance the maker recommends. Film, on the other hand, should not see any light at all, with few exceptions.