
















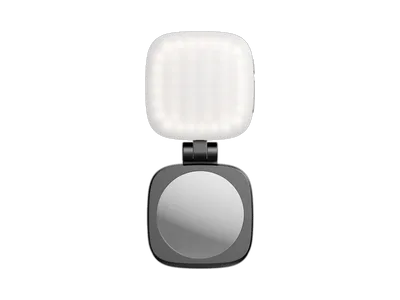
Analogue photography needs film in the right format for the camera, and then developing, either at a lab or at home. Film comes in 35 mm, medium format and sheet film, in colour and black and white with different speeds. To develop and print yourself you need chemicals, photo paper and darkroom equipment. Disposable cameras and instant cameras are a way to start without an old camera.
Read more about analogue & Instant
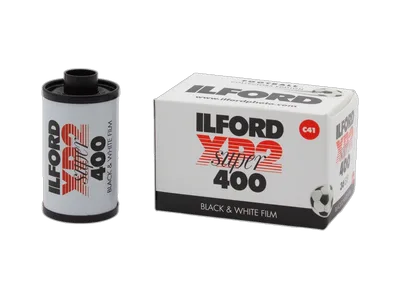
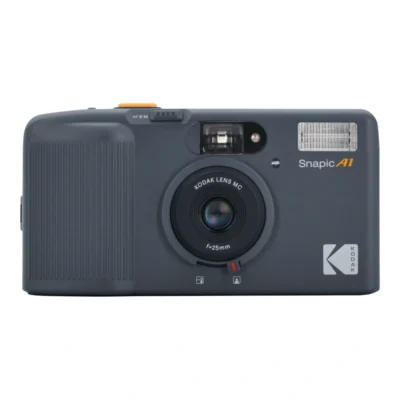
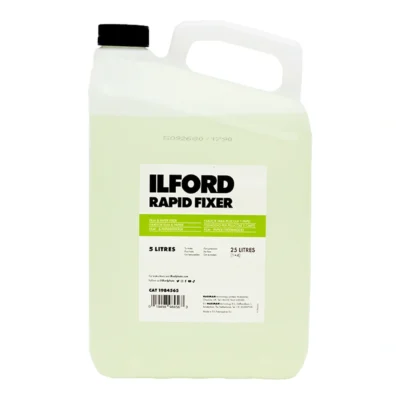
Film photography is slower than digital, and that is much of the point. Every picture costs a frame, you see the result only after developing, and so you think before you press the shutter. Here is an overview of the whole chain, from camera to finished picture, and where in the shop you find each part.
Three ways to get started
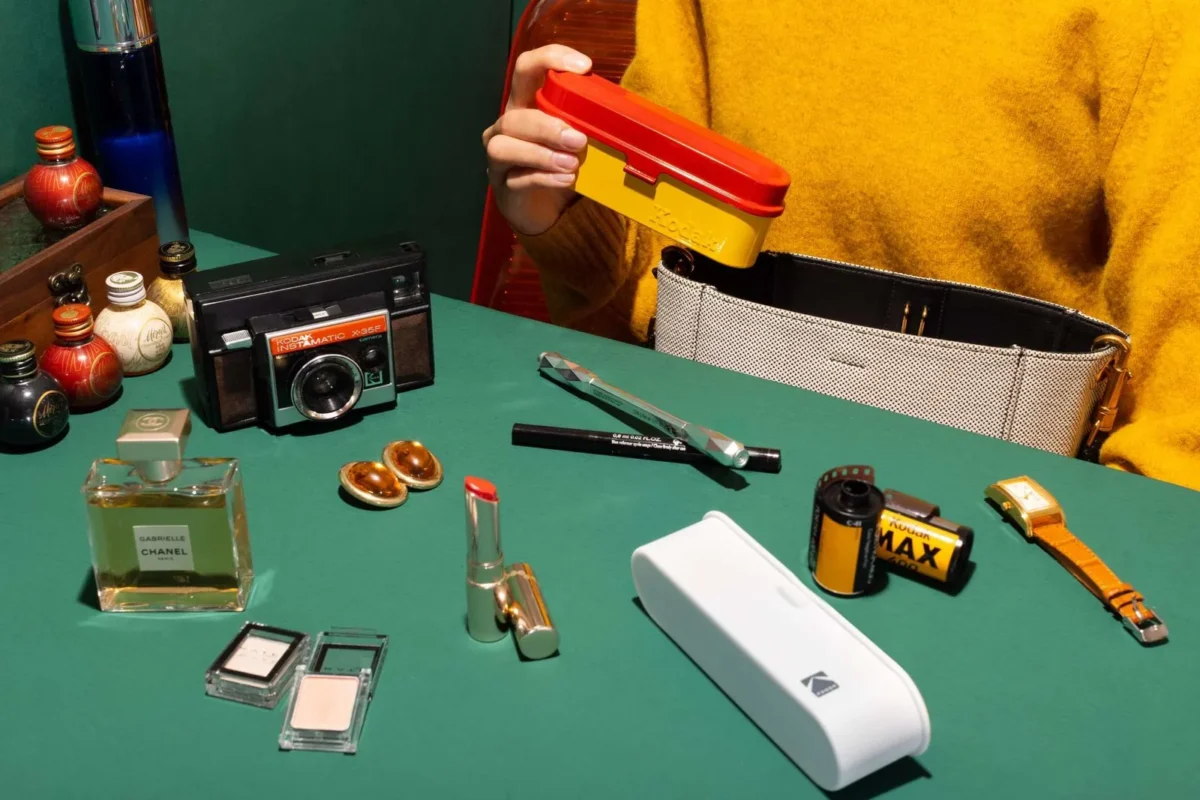
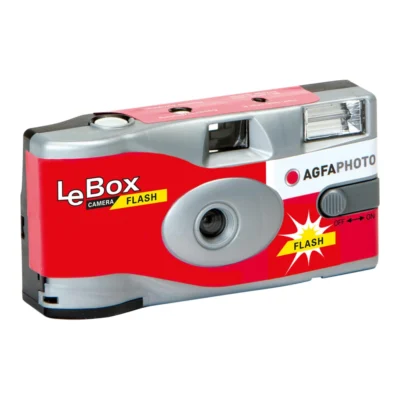
The easiest is a disposable camera. The film is already inside, and you hand in the whole camera when it is full. It suits parties, trips and anyone who wants to try without buying anything else.
The next step is a reusable or half-frame camera. You load ordinary 35 mm film yourself, pick a film for the occasion and keep the camera. These cameras are still simple to use, and the cost per picture drops below disposables if you shoot regularly.
Many people have an old film camera in a cupboard or find one second-hand. Then all you need is the right film and perhaps a new battery for the light meter. Try a cheap roll first, since old cameras can have light leaks or a sluggish shutter.
The film shapes the result more than the camera
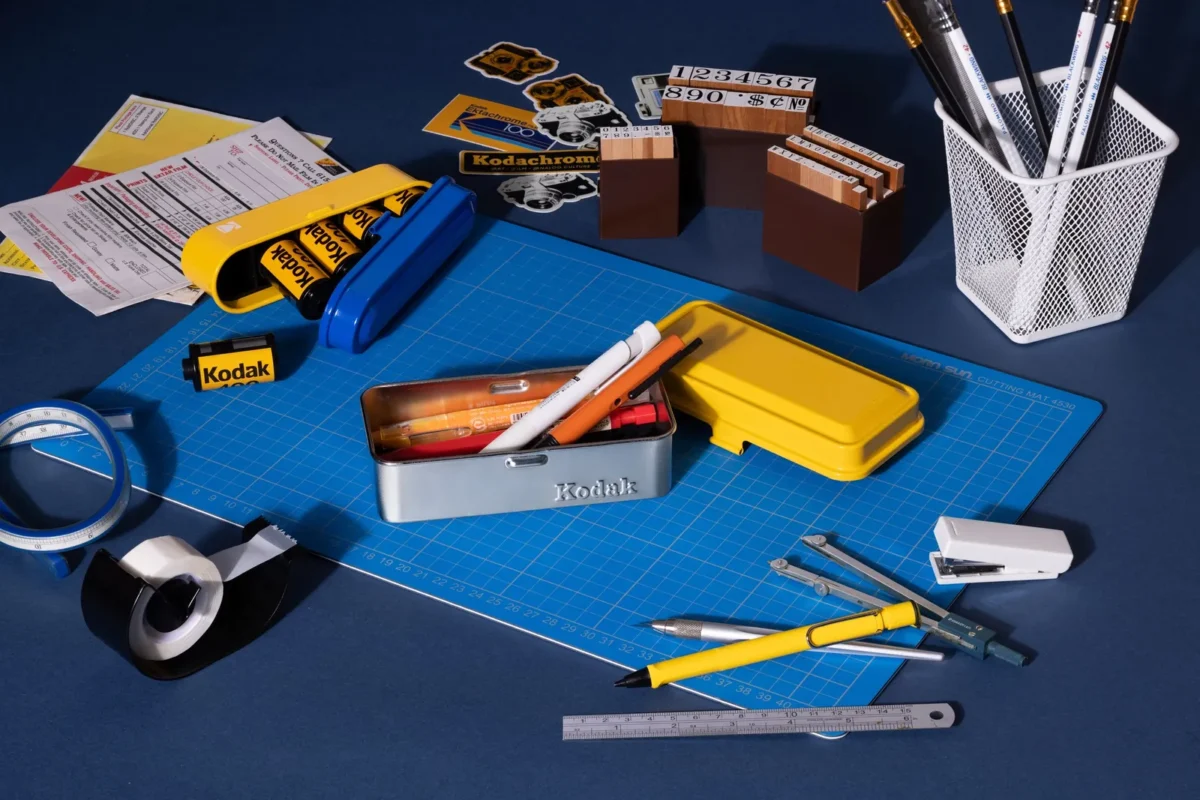
In a simple camera, the film provides the colours, the grain and how much light is needed. Changing film often makes a bigger difference than changing camera. Colour negative is the easiest to get right and can be developed almost anywhere. Black and white gives a different look and is what you develop at home if you want to start doing that.
Format follows the camera. Almost every camera in this section takes 135 film, while medium format and sheet film are for larger cameras. The Film category explains the formats, and the colour film and black and white film categories cover how to choose within each type.
Lab or home developing
Most people take colour film to a lab and get back negatives, prints or scans. It is simple and consistent. The colour process needs exact temperature, which is why the lab is nearly always the best route for colour.
Black and white is a different story. You can develop it in a bathroom with a tank, a few chemicals and a changing bag. The first roll takes an evening including the reading, and after that about half an hour. It is cheap per roll and you control contrast and grain yourself.
Developers, stop bath and fixer are under chemicals, and tanks, changing bags and starter kits under darkroom equipment.
From negative to picture
Once the film is developed there are two routes. One is making prints in the darkroom: you project the negative onto photo paper with an enlarger and develop the paper in trays. It takes time to learn, but a hand-made black and white print on fibre paper has a quality that is hard to get any other way.
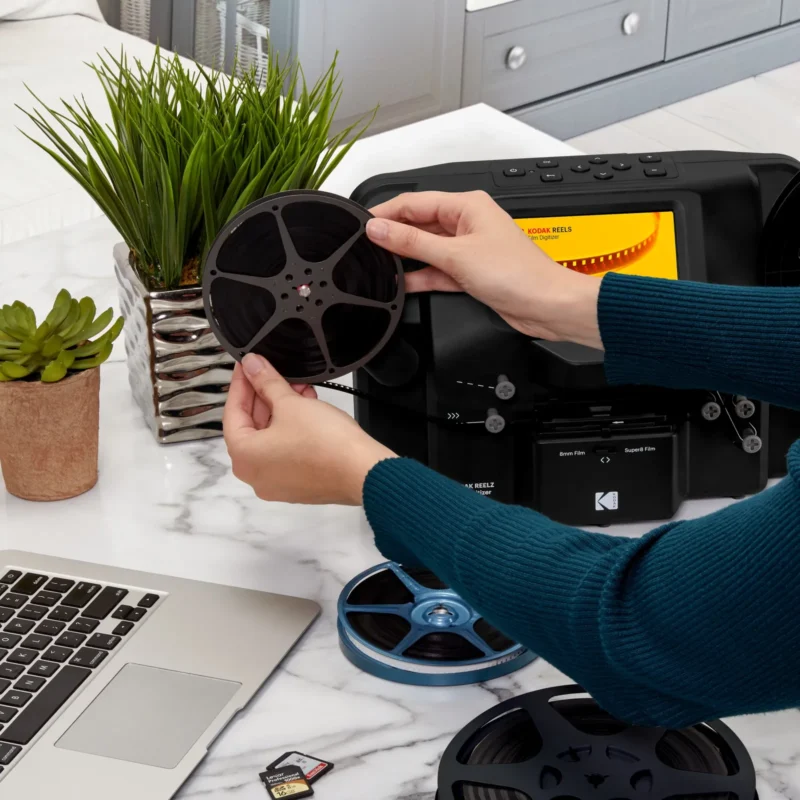
The other is scanning or digitising the negatives. The lab can do it for you, or you do it at home with a film scanner or digitiser. Scanners are found among photo printers and scanners. Many people do both, scanning everything and printing the best frames.
Keep the negatives, whichever route you take. They are the original.
A sensible first purchase
It is easy to buy too much at once. Here is what a reasonable start looks like, depending on what you want to do.
- Just trying it: a disposable camera, or a few for a party.
- Shooting regularly: a reusable camera, two or three rolls of ISO 400 colour negative and a spare battery if the camera takes one.
- Developing yourself: a film starter kit, a few rolls of ISO 400 black and white and a changing bag if the kit lacks one.
- Printing on paper: a small pack of RC paper, Multigrade filters, a safelight and paper developer, on top of an enlarger.
Then buy more of what worked. The second and third roll of the same film teach you more than three different films.
Instant: the picture straight away
An instant camera gives you a paper print right after the shot. Kodak's Printomatic cameras take the picture digitally and print it on Zink paper, with a sticky back and no ink. It is a different way to get a physical picture than film, and the prints suit a journal or the fridge door better than a frame.
The paper is in practice the camera's film, so buy an extra pack along with the camera. The different cameras are covered under Cameras.
Frequently asked questions about analogue & Instant
How do I get started with film photography?
Start with a disposable camera or a simple reusable camera and an ISO 400 colour negative film. Take the film to a lab and ask for scans and your negatives back. When you want more, change film, try black and white or start developing yourself.
What do I need to shoot film?
A camera, film in the right format and a lab to develop it. To develop yourself you also need a tank, a changing bag and black and white chemistry. Printing on paper calls for a safelight, photo paper and an enlarger.
What is the difference between a disposable and a reusable camera?
A disposable camera has the film built in, and you hand in the whole camera. A reusable camera is loaded with 35 mm film by you and used again. The reusable one works out cheaper per picture if you shoot often.
Can I develop film at home?
Yes. Black and white film is easy to develop at home with a tank, chemicals and a changing bag, and you need no darkroom. Colour is possible too but needs exact temperature, so most people leave it to a lab.
How do I get film photos onto my computer?
Ask the lab to scan the film when you hand it in, or scan the negatives yourself with a film scanner or digitiser. Keep the negatives so you can rescan them later.